A simple guide to Vibe Coding
Learn what vibe coding is and run a practical first session — from a clear brief to a working preview you can steer yourself.
Vibe coding is a way of building software where you describe the outcome in plain language, an AI coding tool drafts the code, and you steer with feedback until the result matches what you meant. You do not need to type every line yourself. This page answers one question only: what vibe coding is, and how a beginner starts that loop in a first session. Adjacent topics — scoping frameworks, landing-page walkthroughs, non-programmer review checklists, tool bake-offs, and deep prompt craft — live on sibling Codapress Insights articles linked below; this guide will not restate them.
Key takeaways
- Vibe coding means you direct in everyday language while an AI drafts and revises code; you remain the quality gate.
- A workable first project is small, visible, and finishable in one sitting — not a full product vision.
- The beginner loop is five steps: outcome → one slice → preview → specific feedback → repeat.
- Specific constraints (stack, devices, what not to build) beat poetic or vague prompts every time.
- You do not need to understand every line of code on day one, but you must open, click, and resize what the model produces.
- When the AI drifts, recap the project state and ask for a small change — not a full rewrite.
- If money, passwords, or other people’s data enter the picture, slow down or bring in a developer before you ship.
What is vibe coding?
Vibe coding is a conversation with an AI coding assistant. You explain the goal, answer follow-up questions, request changes, and test the output. The term was popularised by Andrej Karpathy, who described building software by accepting AI suggestions, staying in flow, and fixing things as you go. The “vibe” is not guesswork — it is the feel of staying close to the result while the machine handles most of the typing.
It is not the same as traditional programming, where you memorise syntax and author every line yourself. It is also not “press one button and retire.” The model is a fast, occasionally overconfident collaborator. You are the director: you decide what “done” looks like, and you decide when to stop.
| You bring | The AI brings |
|---|---|
| The idea and the “done” feeling | Draft code, file structure, explanations |
| Judgement about what looks and feels right | Speed and breadth across languages |
| Testing in a browser, terminal, or on your phone | Iteration when you ask for changes |
| Decisions about scope and risk | Suggestions you can accept, reject, or refine |
Think of it as a keen junior helper who never sleeps — useful, but you still check the work before anyone else sees it.
A short definition you can reuse
Definition: Vibe coding = plain-language intent + AI-drafted code + human steering through preview and feedback, repeated until the software matches the outcome you named.
If a friend asks “what is vibe coding?”, that sentence is enough. Everything else in this guide is how beginners put it into practice.
What this guide covers — and what it deliberately leaves out
Owning one clear intent keeps this page useful. Here is the split:
| This page owns | Sibling pages own |
|---|---|
| Definition of vibe coding | How to scope an app idea before you prompt |
| How a beginner starts the first-session loop | Your first landing page with AI |
| Starter toolkit choices at a high level | Cursor vs Claude Code vs GitHub Copilot |
| One illustrative first prompt and feedback pattern | Outcome prompts vs vague prompts |
| When the beginner loop stalls | When to call in a developer |
More sibling routes when you need them (each owns a narrower question):
- Layers in plain English: Frontend, backend, and hosting explained for vibe coders
- Iteration size: Small slices
- Checking code without being a programmer: How to review AI-generated code when you are not a programmer
- Timeline realism on bigger ideas: From prompt to MVP
- Workflow mode: Vibe coding vs pair programming
- Bounded weekend ideas: 50 AI coding project ideas
- Language foundation beside the AI: Learn Python with AI without skipping the fundamentals
Who vibe coding is for (and who it is not)
This vibe coding guide is written for hobbyists, side-project builders, and non-developers who have thought, “I have an idea, but I am not a programmer.” You are a fit if you can describe what you want in writing, you are willing to click through a preview, and you accept that the first draft will need steering.
You are less of a fit — for this method alone — if you need regulated software on day one, if you cannot spare time to verify behaviour, or if you expect the model to invent your product strategy for you. Vibe coding amplifies clarity; it does not replace it.
A quick readiness decision tree
Use this when you are unsure whether to open a tool yet:
- Can you describe a useful result in one sentence a friend would understand? If no → write that sentence first; do not open the AI yet.
- Can you name two things you are not building this week? If no → list exclusions (accounts, payments, mobile apps, external data services) before you prompt.
- Can you spare thirty to sixty minutes to preview and give feedback? If no → schedule a block; vibe coding without preview is just chatting about code.
- Does the idea involve real money, passwords, or other people’s private data on day one? If yes → shrink to a fake-data prototype, or read When to call in a developer before you ship anything public.
- If you answered yes to 1–3 and no (or “shrunk”) to 4 → you are ready for the first-session loop below.
What you need before your first session
You do not need an expensive setup. Most beginner projects run on a normal laptop and a free or low-cost AI tool. Gather these four things before you open a chat.
Starter checklist
- A clear problem in one sentence — not “build me an app,” but “a one-page site that lists my plant collection with photos and watering notes.”
- One AI coding environment chosen for this week — browser builder, desktop assistant, or chat-with-code; pick one and stay with it so you learn its habits.
- A place to preview results — usually a browser for websites; a Run button or terminal for small scripts.
- Permission to work in slices — header first, then layout, then interactivity; not the whole product in one prompt.
- A note for project state — what exists, what broke, what you want next (you will paste this into later sessions).
If scoping still feels fuzzy after that one sentence, pause and use the five-question framework in How to scope an app idea before you prompt an AI before you continue here. Do not skip that work and hope the model guesses your audience and out-of-scope list.
How do you choose a first tool without a bake-off?
Beginners stall when they try to pick the “best” AI coding tool forever. You only need a tool that can draft files, show or explain how to preview them, and accept follow-up edits. Depth comparisons belong elsewhere; this matrix is a starter only.
| If you mainly want… | Start with this shape of tool | Why it suits beginners |
|---|---|---|
| Instant preview in the browser | A browser-based builder (e.g. Lovable, Bolt, Replit-style apps) | Less setup; you see a page sooner |
| Code on your own machine with file control | A desktop AI coding assistant (e.g. Cursor-style editors) | Easier to save, organise, and revisit files |
| Conversation first, files second | A chat model that outputs code you copy into an editor | Lowest friction to ask “why?” and “what next?” |
| Autocomplete while you type more yourself | An in-editor assistant (e.g. GitHub Copilot-style) | Good later; often heavier than you need on day one |
Stay with one environment for your first two or three small projects. Switching tools mid-beginner phase teaches you menus, not the vibe coding loop. When you outgrow that starter choice, use Cursor vs Claude Code vs GitHub Copilot for a practical 2026 comparison — not this page.
A practical default for absolute beginners: pick a browser-based builder if setup anxiety is high, or a chat tool plus a simple text editor if you already know how to save an .html file and open it in Chrome or Firefox. Either path teaches the same loop. The tool is the classroom; the loop is the lesson.
What does a first session look like?
Whether you are new or returning after a break, the same five-step loop keeps you in control. Memorise it; everything else is detail.
- Describe the outcome in everyday language — who it is for and what “done” looks like.
- Ask for one slice of the project, not the whole thing.
- Run or preview what you received.
- Give specific feedback (“make the button orange,” “the text overlaps on mobile”).
- Repeat until it matches your intent.
That loop is how you learn to vibe code. Speed comes from tighter slices and clearer feedback, not from longer first prompts.
A “slice” is one visible chunk you can judge in a preview. Use this quick contrast before you write the opening message:
| Weak first slice | Stronger first slice |
|---|---|
| “Build my whole club website with events and sign-up” | “One static page: header, three event cards, cream theme” |
| “Add accounts, payments, and a mobile app” | “HTML and CSS only; buttons can be placeholders” |
| “Make it look professional and modern” | “Desktop: three cards in a row; phone: stack in one column” |
A realistic sixty-minute shape
You do not need a perfect timetable, but a shape helps you avoid spending fifty minutes rewriting the same prompt.
| Minutes | Focus | Done when |
|---|---|---|
| 0–10 | Write outcome, constraints, and out-of-scope list | Sticky note or doc is complete |
| 10–20 | Send one opening prompt for a single slice | Files or preview appear |
| 20–35 | Open the preview; click and resize | You can point at what is wrong or missing |
| 35–50 | Send 1–3 specific feedback messages | Visible improvement on the same slice |
| 50–60 | Save files; write a three-line recap | Next session can start cold |
If you finish early, do not invent features to fill the hour. Stop on a clean preview. Momentum compounds across sessions more than within one overloaded evening.
Worked example: one weekend baking page
Imagine you bake at weekends and want a simple public page. You are not building accounts, payments, or a recipe database. You want a warm single page with three recipe cards. Here is a realistic opening prompt you can paste into almost any AI coding tool:
I want a single-page website for my weekend baking hobby.

Requirements:
- Warm, friendly colours (cream background, dark brown text)
- A header with the title "Dave's Sourdough"
- Three recipe cards in a row on desktop, stacked on mobile
- Each card has a title, short description, and a "View recipe" button (no links yet)
- Use HTML and CSS only for now

Please explain what files you created and how I can preview the page locally.
That prompt works because it names the scope (one page), the visual direction, the layout behaviour, and a hard constraint (HTML for structure and CSS for colours and layout only). It also asks for a preview path — beginners often forget that and then stare at files with no idea what to open.
What a good first response looks like
A useful reply usually includes: a short file list, the HTML and CSS (or a link to open them in the tool), and one or two sentences on how to preview. You might see something structurally like this:
<!DOCTYPE html>
<html lang="en">
<head>
  <meta charset="UTF-8">
  <meta name="viewport" content="width=device-width, initial-scale=1">
  <title>Dave's Sourdough</title>
  <link rel="stylesheet" href="styles.css">
</head>
<body>
  <header>
    <h1>Dave's Sourdough</h1>
  </header>
  <main class="recipe-grid">
    <!-- three recipe cards go here -->
  </main>
</body>
</html>
Even if the CSS feels dense, you can still ask sensible questions in the same chat: “What does this class do?” or “Which line controls the button colour?” The model will explain in plain English. That back-and-forth is part of vibe coding for beginners — not a side quest.
A short CSS fragment might look intimidating at first glance:
body {
  background: #f5f0e8;
  color: #3b2f2f;
  font-family: Georgia, serif;
}

.recipe-grid {
  display: grid;
  gap: 1.5rem;
  grid-template-columns: repeat(3, 1fr);
}

@media (max-width: 600px) {
  .recipe-grid {
    grid-template-columns: 1fr;
  }
}
You do not need to memorise this. You only need to notice patterns: colours live near background and color (the CSS property name is spelled that way in code); the three-column layout lives in grid-template-columns; the mobile stack lives inside the @media block. When something looks wrong on a phone, you now know roughly where to ask the model to look — which is enough to steer.
A realistic second turn (after you preview)
Suppose you open the page and the cards look fine on a laptop, but on a narrow window the title wraps awkwardly and the cards stay in a cramped row. Do not regenerate the whole site. Paste what you saw:
I previewed index.html in Chrome.

Problems:
- On a narrow window (~375px), the header title wraps onto two lines
- The three recipe cards stay side by side and feel cramped

Please change only the CSS:
1) Keep the header title on one line on small screens (slightly smaller font is fine)
2) Stack cards in a single column under 600px width

Do not add JavaScript, new pages, or new libraries. Tell me what to resize to verify.
That second turn is the loop in miniature: observe → constrain → verify. If the model “helpfully” rewrites the HTML too, stop it: “Revert HTML changes; CSS only.” Guarding scope mid-session is a core beginner skill.
Feedback that moves the needle
Vague feedback (“make it nicer”) invites vague revisions. Specific feedback trains the model towards your taste.
| Weak feedback | Stronger feedback |
|---|---|
| Make it nicer | Increase card spacing; use a darker brown for headings |
| Fix mobile | Stack cards in one column under 600px width |
| Add more stuff | Add a short footer with “Baked in Bristol” only — no extra pages |
| It looks wrong | The title wraps on my phone; keep it on one line or reduce font size |
After each change, preview again. If the model rewrites unrelated parts of the page, stop and say: “Change only the header styles; leave the cards as they are.”
How do you talk to the AI without a prompt course?
Good vibe coding is mostly clear communication. You do not need a deep prompt-engineering syllabus to start. You need a few habits that keep the model from inventing a product you did not ask for.
State constraints early. Mention devices (“must work on iPhone”), stack limits (“HTML and CSS only”), or business limits (“no paid external services,” “no user accounts”).
Show a visual anchor. “Like a simplified Notion board” or “similar to a clean BBC weather layout” gives the model a shape. One reference is enough; five references confuse it.
Ask for a plan when the task feels large. Before code, request a short file list:
Before writing code, list the files you would create for a habit-tracking web page that stores data in the browser only (local storage — data stays on this device, not on a server). Keep it to five files or fewer. Explain what each file does in one sentence. Do not write the code yet.Request small changes once a base exists. Prefer “change only the header font size” over regenerating the whole site.
End with a test checklist. Ask: “What should I click, resize, or refresh to confirm this worked?” Then actually do those checks.
When you want before-and-after rewrites of vague prompts into outcome-based ones, use Outcome prompts vs vague prompts rather than turning this page into a second prompt course. For longer multi-step agent workflows later, sibling pieces on planning and shipping exist; your first sessions only need the five-step loop above.
What you should have now (mid-article checkpoint)
Pause here and check your progress against a concrete bar — not a feeling.
Done when:
- You can explain vibe coding in one sentence without jargon.
- You have chosen one tool for this week and know where the preview lives.
- You have written a one-sentence project outcome plus at least two constraints.
- You have run one opening prompt for a single slice (not a full product).
- You have previewed the result and sent at least one specific feedback message.
- You have a short note of project state ready for the next session.
If any line is still unchecked, finish that before you add features, accounts, or a second page. Beginners who skip the checkpoint usually invent complexity to compensate for an unclear first slice.
How do you check the work when you are not a developer?
Vibe coding is fast. It is not automatically correct. Treat every AI output as a first draft.
Open the project in a browser and click every button. Resize the window to phone width. If something stores data, refresh the page and see whether it persists. Read error messages aloud — saying them helps you spot obvious typos and missing files.
A five-minute smoke check for beginners
Run this after every slice that claims to be “done”:
- The page opens without a blank screen or obvious missing stylesheet.
- The main heading and primary content are visible without horizontal scrolling on a phone-width window.
- Every button or link you asked for either works or is clearly labelled as a placeholder.
- Nothing asks for a password, payment, or personal data you did not request.
- You can find the files on disk (or in the tool) and open the same preview again after closing the tab.
If any box fails, that failure is your next prompt. Paste what you saw (“blank page,” “cards overflow on the right,” “button does nothing”) rather than starting a new feature.
You do not need to understand every character to make progress. You do need a habit of verification. For a fuller non-programmer review method (what to skim, what to ask the model, what to refuse to ship), use How to review AI-generated code when you are not a programmer. Keep this page focused on the loop; keep that page as your review depth.
When “good enough for a demo” is not good enough
If the output handles personal data, passwords, payments, or other people’s information, slow down. Free-tier tools and weekend prototypes are fine for learning. Anything public with real users deserves extra scrutiny — and sometimes a human developer. That is not failure at vibe coding; it is judgement. When to call in a developer covers that decision honestly.
What goes wrong — and how do you recover?
Most beginner frustration is a failure mode of the loop, not proof that “AI coding does not work.” Use this troubleshooting table when a session turns messy.
| Symptom | Likely cause | Recovery move |
|---|---|---|
| Output ignores half your request | Prompt tried to build the whole product | Split into slices; rebuild one section at a time |
| Styles keep flipping randomly | Model rewrites too much each turn | Ask for diffs / “change only X”; paste current file snippet |
| Session feels amnesiac | New chat or lost context | Paste a three-line project recap before the next ask |
| “It works” until refresh | State never saved; or wrong preview file | Ask where data is stored; confirm which file you opened |
| Endless polish, nothing shippable | Chasing perfection without a done line | Define a “version one” checklist and stop when it passes |
| Fear of the code | Expecting to understand everything day one | Ask the model to explain one block in plain English |
Failure mode walkthrough: the giant prompt
Before (common trap): “Build me a full recipe social network with accounts, uploads, comments, meal plans, and a mobile app.” The model invents architecture, half-finished pages, and features you cannot test. You feel behind after an hour.
After (beginner path): “Build a single static page with three recipe cards and a cream/brown theme. HTML and CSS only. Explain how to preview.” You get something you can open. Then you add a second slice: clickable card layouts. Then a third: a simple about section. Each slice ends with a preview.
That is the same ambition, sequenced. Tiny steps are not slower overall — they are how you stay oriented. The reasoning behind slice size is expanded in Small slices; here, the takeaway is simply: if your first prompt would take a team a month, it is not a first prompt.
Failure mode walkthrough: accepting the first answer
The first draft is a sketch. If the spacing feels cramped or the colours feel cold, ask for two alternatives:
Keep the same HTML structure. Propose two CSS alternatives only:
1) warmer cream background with darker brown headings
2) soft olive accent for buttons

Apply option 1, then list the three CSS rules you changed.
Asking for alternatives teaches taste without throwing away working structure. Regenerating everything teaches chaos.
Failure mode walkthrough: the silent wrong preview
You ask for a page. The model says it is ready. You open the wrong file, an old tab, or a cached preview — and conclude the AI “did nothing.” Before you rewrite the prompt, confirm:
- Which file the model said to open.
- Whether you refreshed hard (or closed and reopened the tab).
- Whether you are looking at yesterday’s folder by mistake.
Then ask the model: “List the exact file path I should open and the expected title in the browser tab.” Match that title before you escalate. Many “the AI is broken” moments are preview mistakes.
Keep a saved copy
Download or commit files regularly. AI sessions can time out or lose context. A zip of yesterday’s working version is worth more than a perfect chat history you cannot reopen. If your tool offers version history, use it. If it does not, copy the project folder after each successful preview. Name folders with dates (sourdough-2026-09-18) so you can roll back when an ambitious rewrite goes wrong.
How do you start the next session without losing the plot?
Beginners often open a fresh chat and say “continue.” The model cannot see your laptop. Paste a short recap every time:
Project recap:
- Single-page baking site: Dave's Sourdough
- Files: index.html, styles.css
- Working: header and three recipe cards, cream/brown theme
- Broken: cards do not stack on my phone width
- Next: fix mobile stacking only; do not add new pages or JavaScript

Please change only the CSS needed for stacking under 600px, then tell me what to resize to verify.
That pattern — state, broken, next, constraint — is how you learn to vibe code across days without rebuilding from zero. It is also how you avoid the model “helpfully” adding frameworks you never asked for.
What should your first finished thing look like?
Aim for a version one you can show a friend on a phone, not a platform. Good first finishes for this method include:
- A one-page personal or hobby site with clear sections
- A tiny interactive page (quiz, checklist, or counter) with no accounts
- A static landing page for a club, meetup, or side idea
If you want a step-by-step landing-page build rather than a definition-and-loop guide, switch to Your first landing page with AI. If you want a pile of bounded ideas to pick from, use the weekend ideas list linked earlier. This page’s job is the definition and the first-session path — not another idea catalogue.
A finished beginner project has three properties: you can preview it without help, you can name what is in and out of scope, and you know the next slice if you continue. That is enough to claim you have started vibe coding.
Do this next
- Write your one-sentence outcome and two constraints on a sticky note or in a notes app.
- Open one AI coding tool and paste a single-slice prompt modelled on the baking example.
- Preview, then send one specific feedback message (use the second-turn pattern above if mobile layout breaks).
- Save the files and write a three-line recap for tomorrow.
- Only then decide whether to add a second page, learn a language foundation, or deepen review habits via the sibling articles above.
If you want a structured book path after this article, start with Vibe Coding for Beginners for step-by-step beginner builds, then A Simple Guide to AI Coding for a broader map of AI-assisted coding habits beyond the first loop.
Keep one rule above all: stay curious, stay specific, and never skip the bit where you actually open the thing and try it. That is the whole of vibe coding for beginners — and you can repeat the loop on anything from a family newsletter page to a side-hustle landing page once the first session has taught you the rhythm.
Further reading
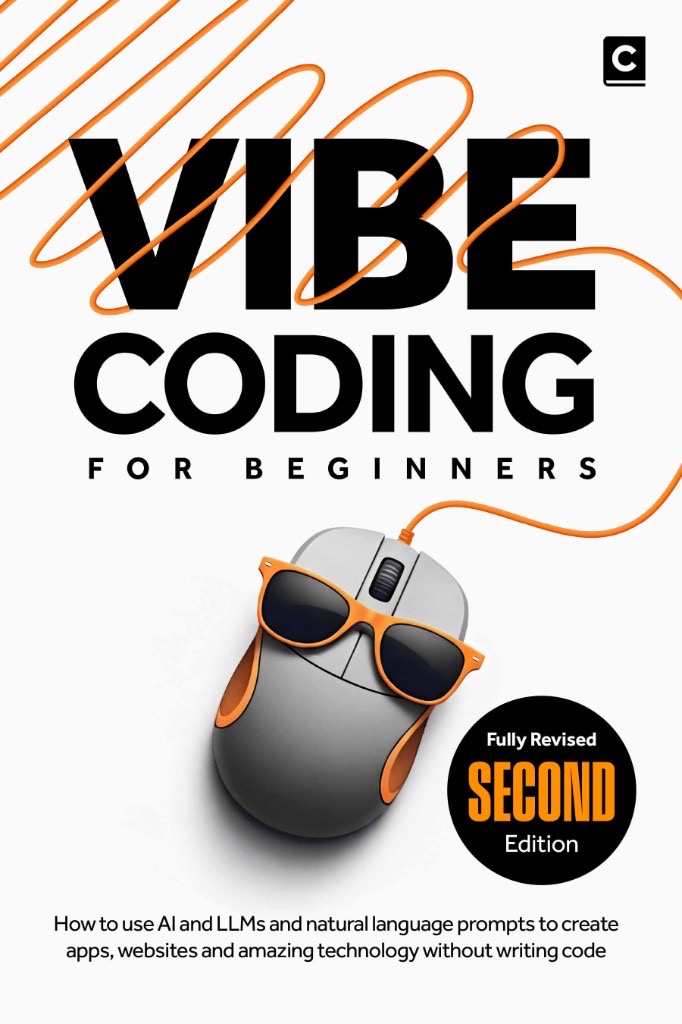
How to use AI and LLMs to create apps, websites and amazing technology — without needing to be a programmer or write code from scratch
View book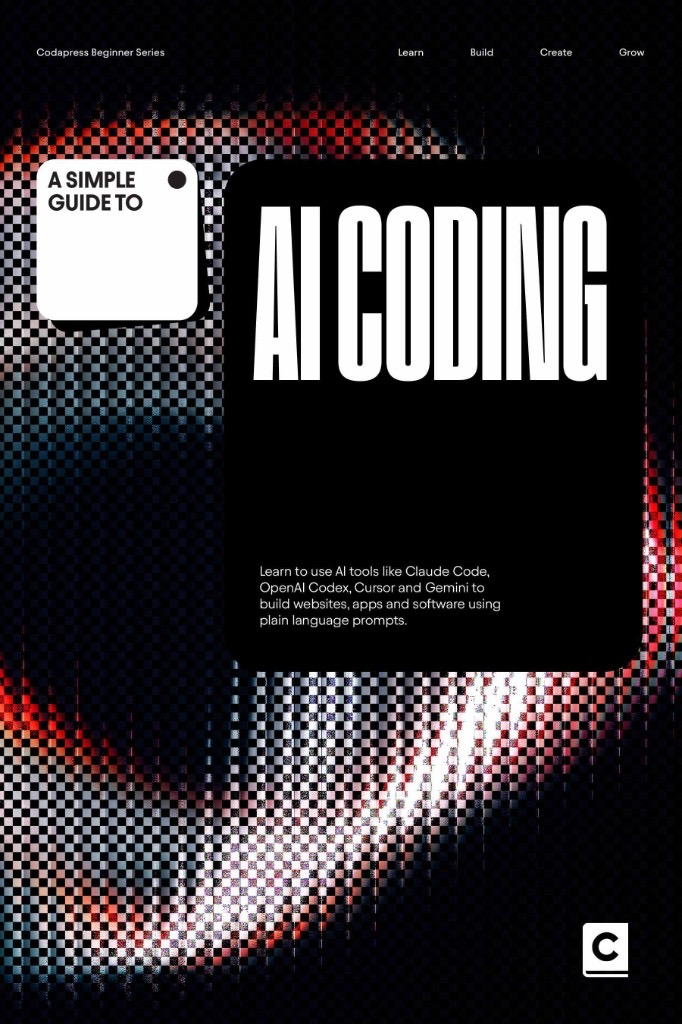
Learn to use AI tools like Claude Code, OpenAI Codex, Cursor and Gemini to build websites, apps and software using plain language prompts.
View bookMore insights
All ArticlesJavaScript for Vibe Coders: The Minimum You Need to Read What the AI Wrote
Learn just enough JavaScript to read AI-generated front-end code — variables, functions, DOM basics, and the red flags that mean you should ask again.
Read articleLearn Python with AI Without Skipping the Fundamentals
Use Copilot and chat to learn Python faster — without skipping syntax, debugging habits, or the fundamentals that make AI output trustworthy.
Read articleA 90-Day Roadmap for Rolling Out Agentic Coding on Your Team
Roll out agentic coding without the chaos — a phased plan that gives your team standards, governance, and a rollout pace they can actually sustain.
Read articleContext Windows, Memory, and Why Your AI Keeps "Forgetting" the Project
Discover why your AI loses track of your project mid-session and how context windows, memory files, and smart prompting keep conversations on track.
Read article